Installing on Ubuntu/Wine
by Webjester
updated: 2023-06-08
Preface
This guide will aid you in downloading, installing, configuring, and launching Final Fantasy XI on Ubuntu 22.04. This guide is for UBUNTU LINUX 22.04. Windows users can follow the standard Windows instructions instead.
Assumptions
- You have a working install of Ubuntu 22.04 (or one of its many flavors).
- You are comfortable typing things in a shell prompt (bash, etc).
- You have access to
sudoor have root permissions to install software.
Downloading and installing Wine
WineHQ has Pre-built packages for Wine on its website (https://wiki.winehq.org/Ubuntu). We’ll be using the Staging branch as it has the best compatibility with Ashita.
Add the WineHQ repository and install Wine. Open a shell session and run the following:
$ sudo dpkg --add-architecture i386
$ sudo mkdir -pm755 /etc/apt/keyrings
$ sudo wget -O /etc/apt/keyrings/winehq-archive.key http://dl.winehq.org/wine-builds/winehq.key
$ sudo wget -NP /etc/apt/sources.list.d/ http://dl.winehq.org/wine-builds/ubuntu/dists/jammy/winehq-jammy.sources
$ sudo apt update
$ sudo apt install --install-recommends winehq-staging cabextract p7zip-full
Configuring your wine container for FFXI w/ Ashita
-
Create a new wine prefix for this install and launch Wine Config:
$ WINEPREFIX=~/.wine-nocturnalsouls winecfg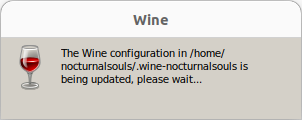
-
If this is your first time running Wine, you will also be prompted to install Wine Mono, which you should do.
-
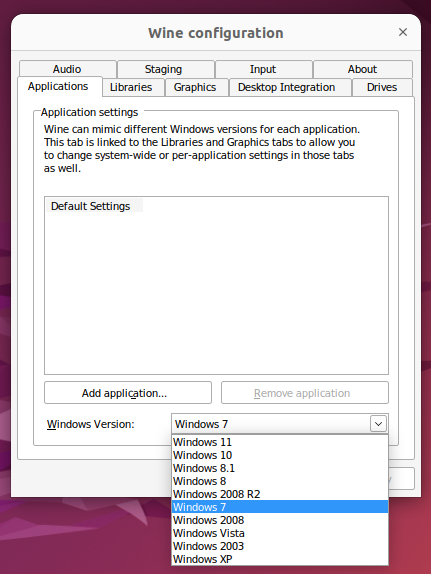
In the Wine configuration window, ensure your Windows version is set to Windows 7 and click ok (this is visible on the Applications tab at the bottom).
Download and Install Final Fantasy XI
In mid 2019 Square-Enix refreshed their installer package to include updates to the most recent release at that time. This guide uses that installer as a reference.
-
Download the Installer Files:
$ mkdir -p ~/Downloads/ffxi $ cd ~/Downloads/ffxi $ wget https://gdl.square-enix.com/ffxi/download/us/FFXIFullSetup_US.part1.exe $ wget https://gdl.square-enix.com/ffxi/download/us/FFXIFullSetup_US.part2.rar $ wget https://gdl.square-enix.com/ffxi/download/us/FFXIFullSetup_US.part3.rar $ wget https://gdl.square-enix.com/ffxi/download/us/FFXIFullSetup_US.part4.rar $ wget https://gdl.square-enix.com/ffxi/download/us/FFXIFullSetup_US.part5.rar -
Unpack the installer
$ WINEPREFIX=~/.wine-nocturnalsouls wine ~/Downloads/ffxi/FFXIFullSetup_US.part1.exe -
You will be prompted for a location to unpack the files. The default path should be the directory you downloaded the files, add a /unpack to the path, e.g.:
D:\home\username\Downloads\ffxi\unpack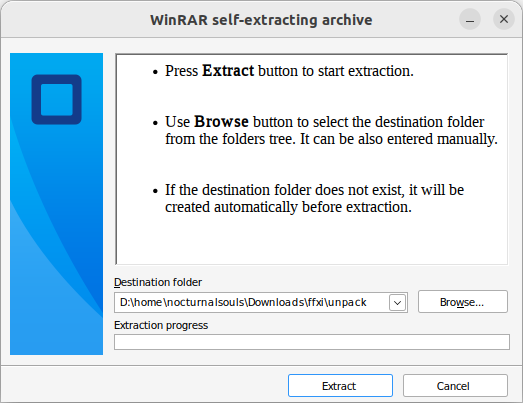
-
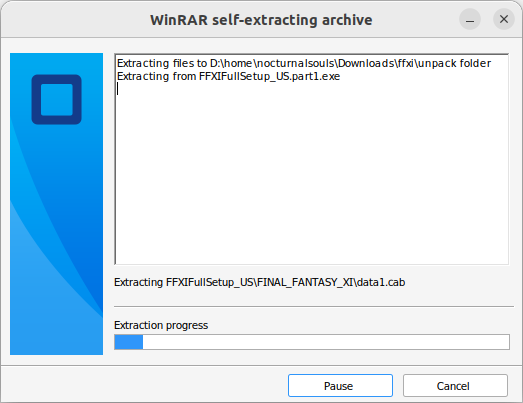
Once the unpack job is done, the window will automatically close. Launch the installer:
$ cd ~/Downloads/ffxi/unpack/FFXIFullSetup_US/ $ WINEPREFIX=~/.wine-nocturnalsouls wine ./FFXISetup.exe -
The Installer window may initially appear to be blank:
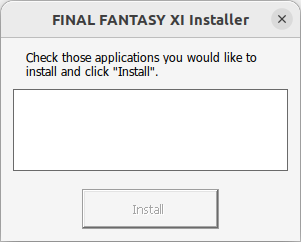
Click into the empty space in the window to get the checkboxes to appear:
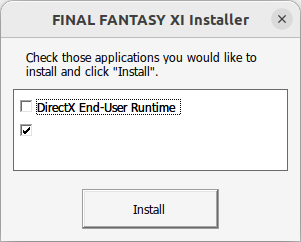
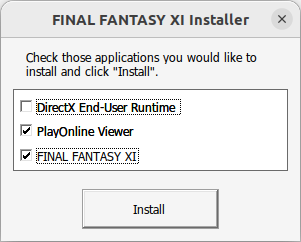
Once PlayOnline Viewer and FINAL FANTASY XI are checked, click Install:
-
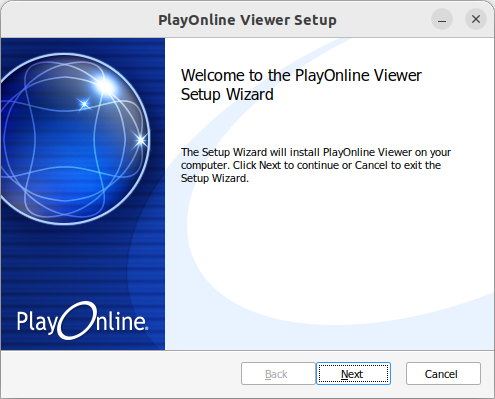
The PlayOnline Viewer Setup window will launch:
Note, the text in the EULA may not display correctly:
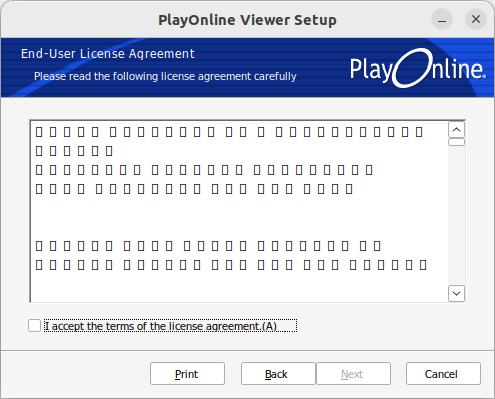
Accept the license and next through the defaults.
-
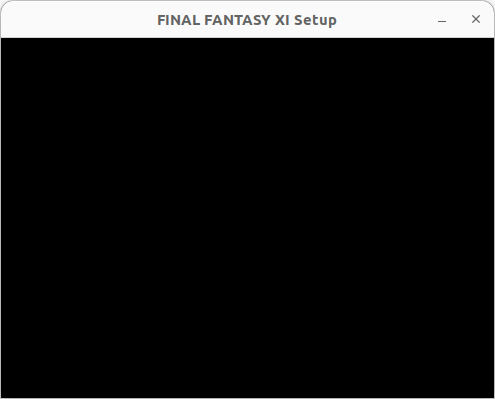
The FINAL FANTASY XI Setup window will appear blank initially:
And may present a warning shortly after the blank window appears:
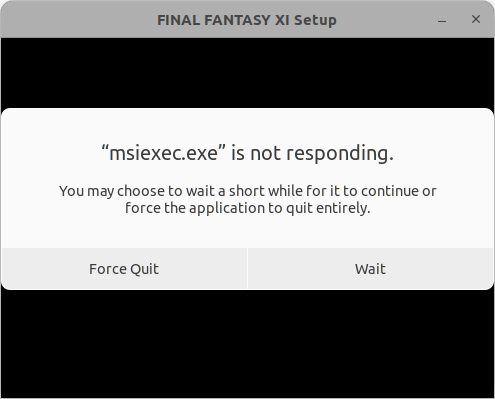
THIS IS NORMAL, DON’T PANIC!
Let it sit, as it will appear to hang for several minutes. Eventually the FINAL FANTASY XI Setup window will appear. Once again it appears with a warning. Simply wait it out:
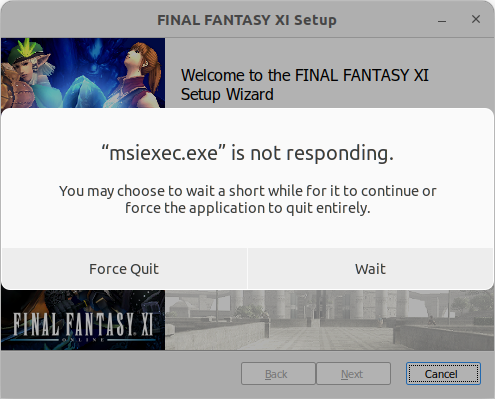
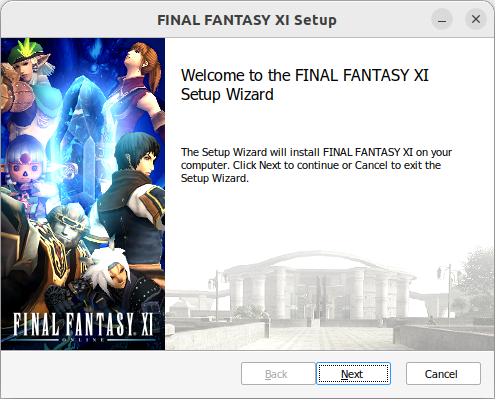
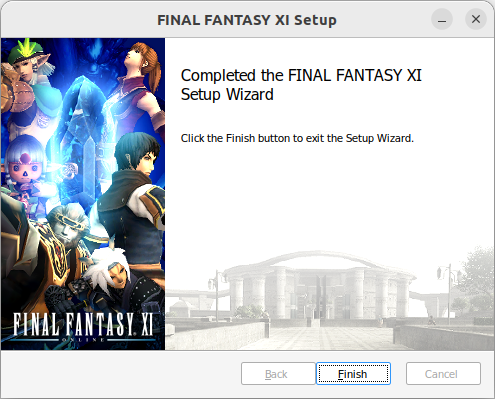
It will eventually bring you to the installation wizard, where you can click Next:
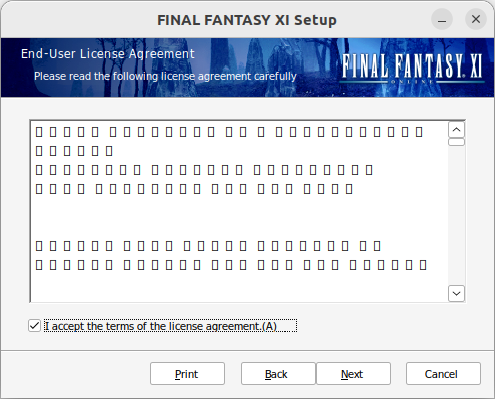
As before the EULA may not render correctly, you’ll still need to accept the terms to continue:
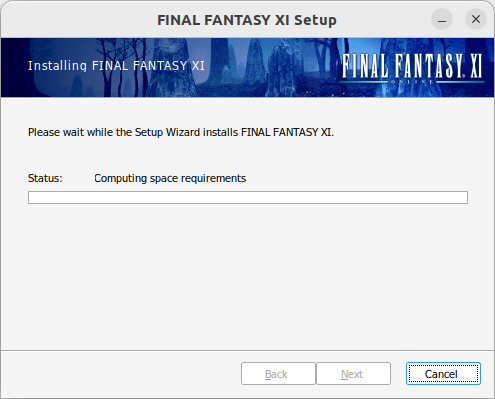
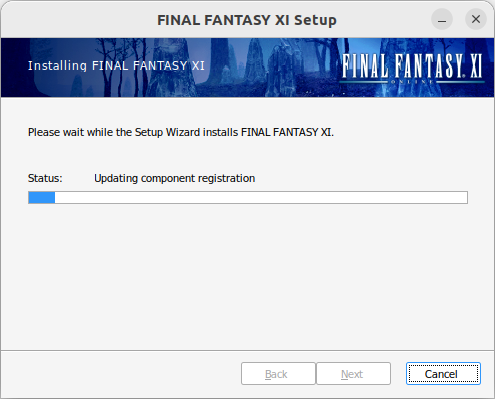
Next your way through the dialogs using the defaults, and wait while the installation completes (this may take quite a bit of time).
Update Final Fantasy XI
-
Download the DSP patch package to your downloads directory
$ mkdir ~/Downloads/dsp $ cd ~/Downloads/dsp $ wget http://forums.dspt.info/download/file.php?id=1996 -O FFXI-UpdatePatch.zip -
Navigate to your Final Fantasy Install Directory
$ cd ~/.wine-nocturnalsouls/drive_c/Program\ Files\ \(x86\)/PlayOnline/SquareEnix/FINAL\ FANTASY\ XI/ -
Unzip the updater:
$ 7za -aoa x ~/Downloads/dsp/FFXI-UpdatePatch.zip -
Launch Playonline Viewer for the first time. This can be done via the command line:
$ WINEPREFIX=~/.wine-nocturnalsouls wine ~/.wine-nocturnalsouls/drive_c/Program\ Files\ \(x86\)/PlayOnline/SquareEnix/PlayOnlineViewer/pol.exe -
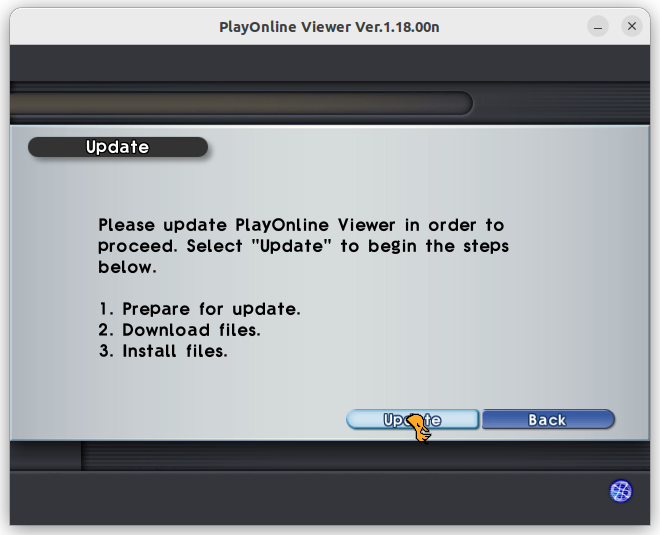
Run through the PlayOnline update process. PlayOnline will update a number of files.
-
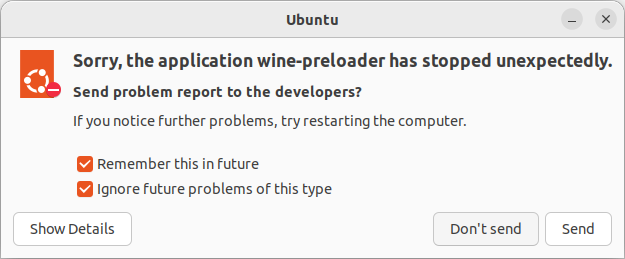
After PlayOnline updates, it should relaunch itself. You may also get a Wine Crash due to the relaunch. You can click “Remember this in the future” (if you so desire) and “Don’t Send” to dismiss the message:

In the event that PlayOnline didn’t automatically re-launch, simply relaunch it again as you did in step 4.
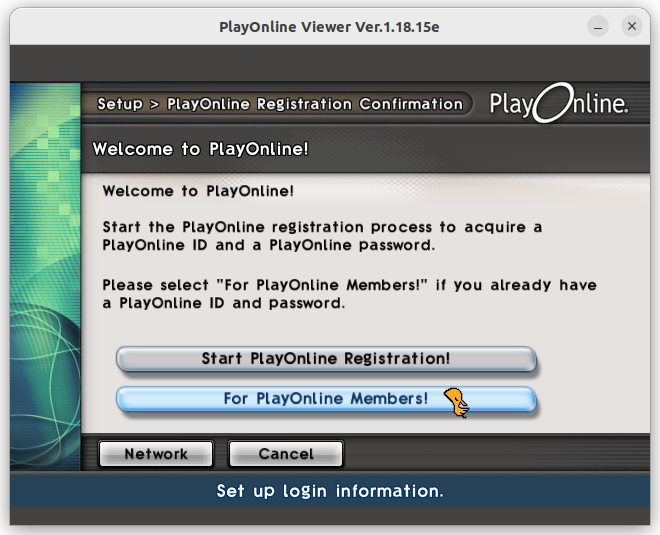
You will be prompted to setup an account. Choose “For PlayOnline Members!” and setup a dummy account.
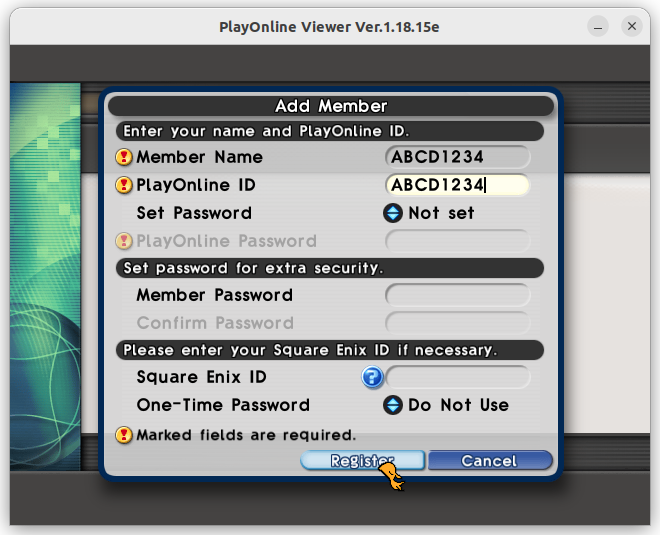
The Member name and PlayOnlineId can be ABCD1234. We won’t actually be logging in with this account, but need it to be present to progress. Once Member Name and PlayOnline ID are filled in, click the Register Button:
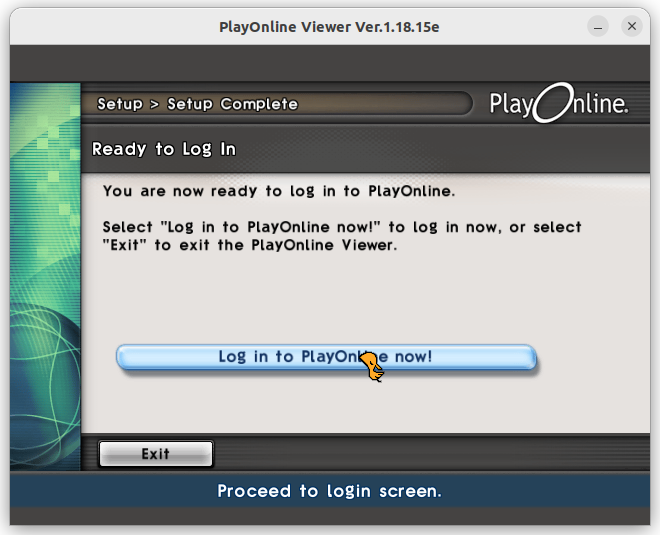
Choose Log in to PlayOnline now!
-
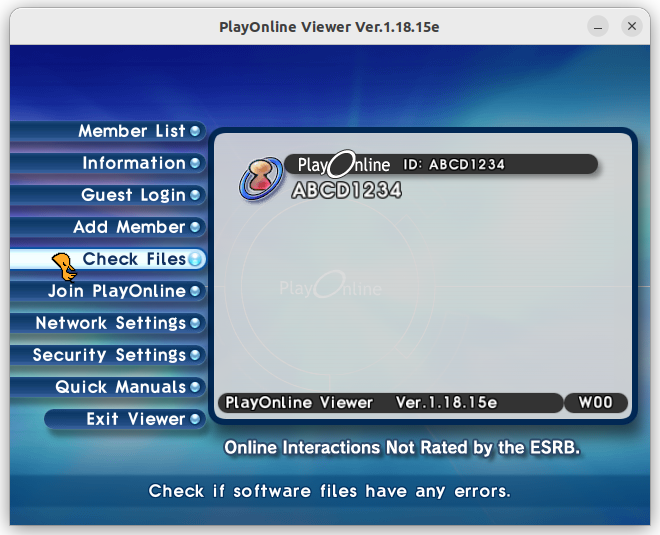
On the PlayOnline Landing Page, choose Check Files:
-
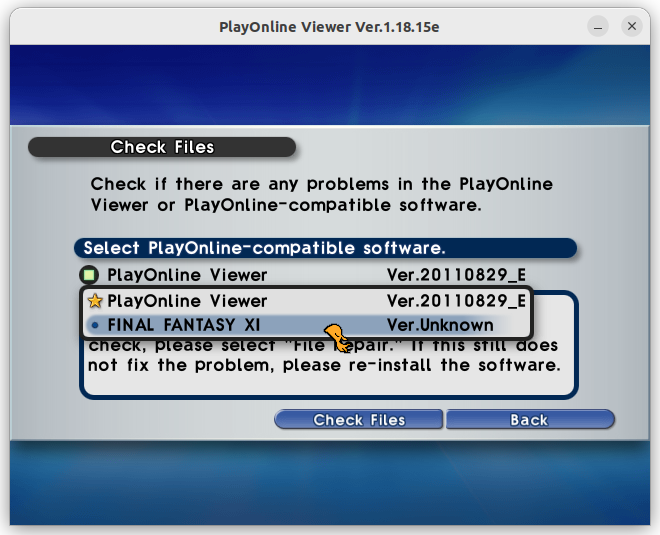
Click PlayOnline Viewer, which will bring up a drop down menu. Select FINAL FANTASY XI Ver.Unknown.
-
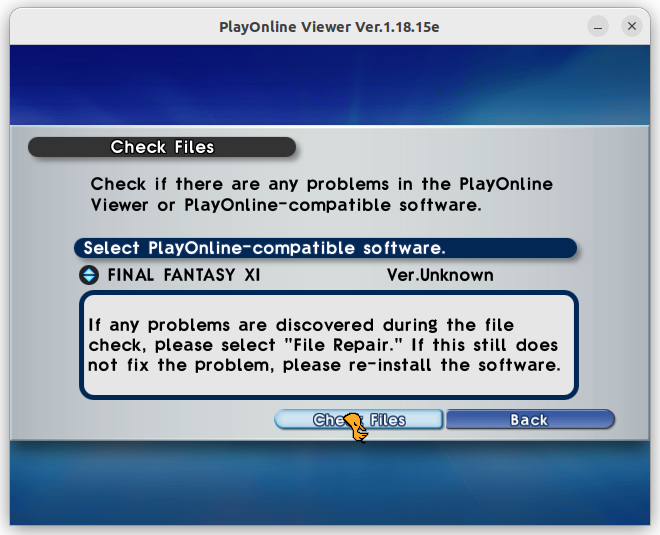
Click Check Files at the bottom of the window to begin scanning the files for changes.
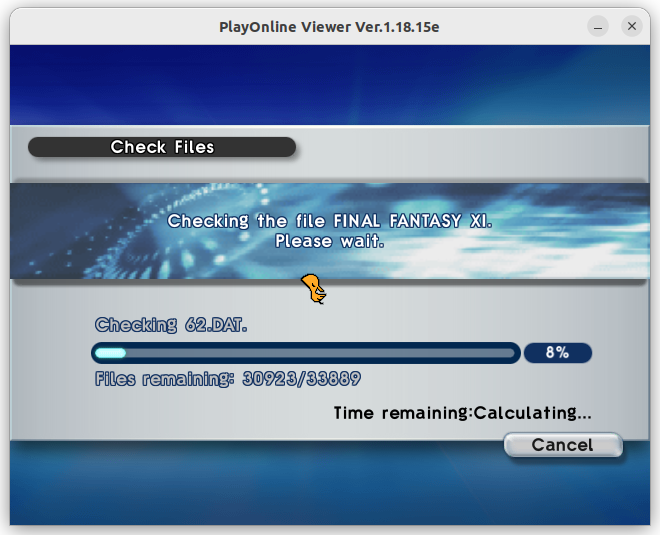
-
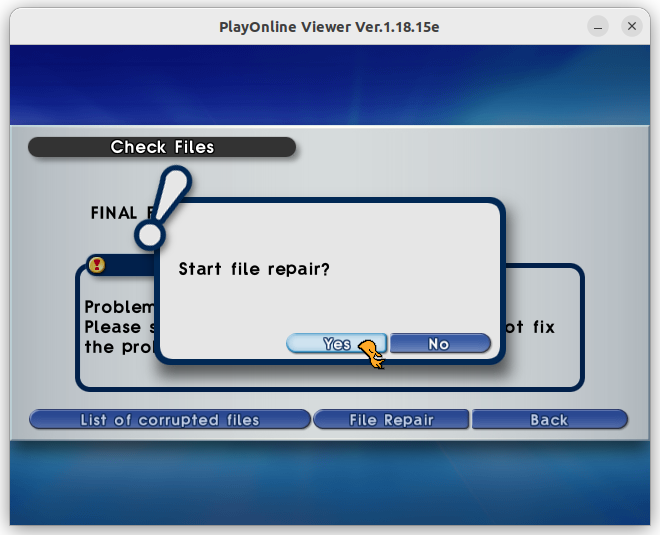
After it scans your drive, click “File Repair” and Yes to the prompt:

-
Go stretch your legs, get a drink, etc. This part will take a while to complete.

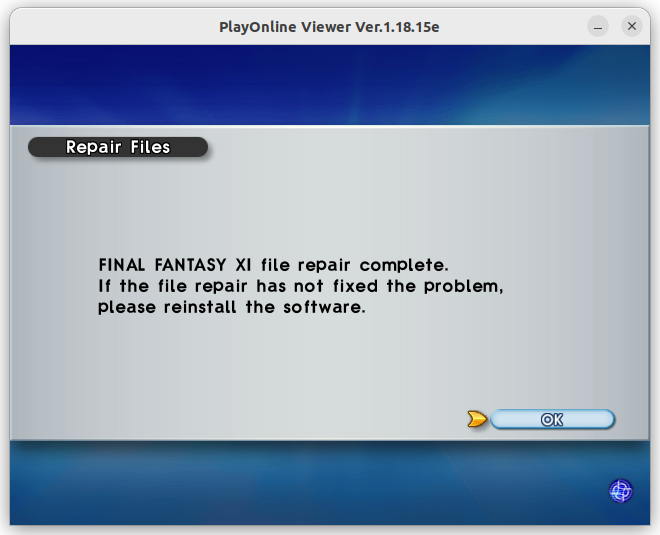
After completing the file check, OK the Repair Files dialog and exit out of PlayOnline viewer.
-
After closing Playonline, you may get another Crash report. You can Click Remember / Ignore, and then Don’t send:
-
Should you need to reload or update PlayOnline at a later time, you can launch it with the following one-liner:
$ cd ~/.wine-nocturnalsouls/drive_c/Program\ Files\ \(x86\)/PlayOnline/SquareEnix/PlayOnlineViewer/; WINEPREFIX=~/.wine-nocturnalsouls wine ./pol.exe
Download and install Ashita
-
Navigate to your FFXI wine prefix to download the installer:
$ mkdir ~/.wine-nocturnalsouls/drive_c/Program\ Files\ \(x86\)/Ashita
$ cd ~/.wine-nocturnalsouls/drive_c/Program\ Files\ \(x86\)/Ashita
$ wget http://git.ashita.atom0s.com/Ashita/Ashitav3-Launcher/raw/master/Ashita.exe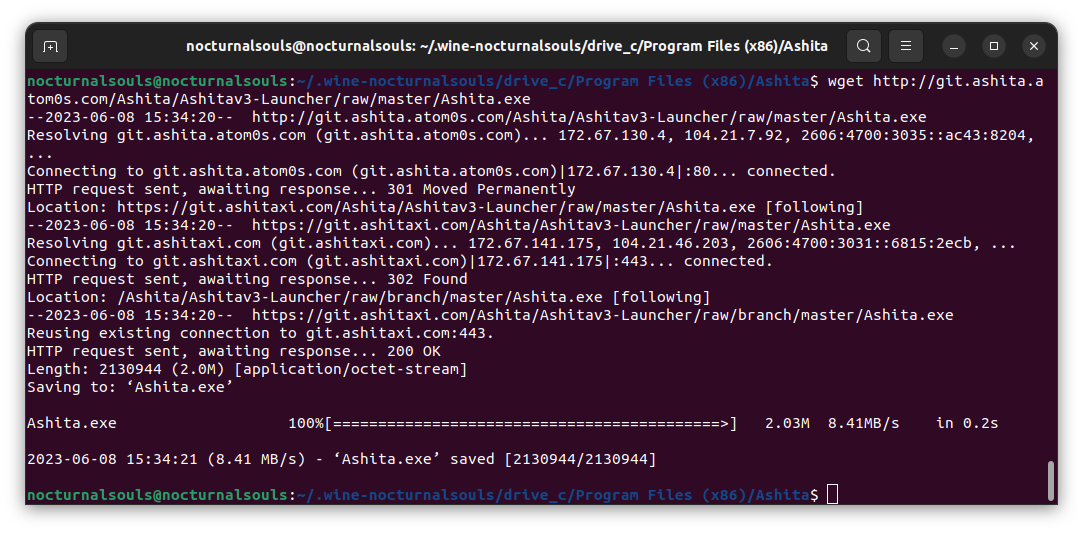
Launch Ashita through Wine to trigger the auto-updater:
$ WINEPREFIX=~/.wine-nocturnalsouls wine ./Ashita.exe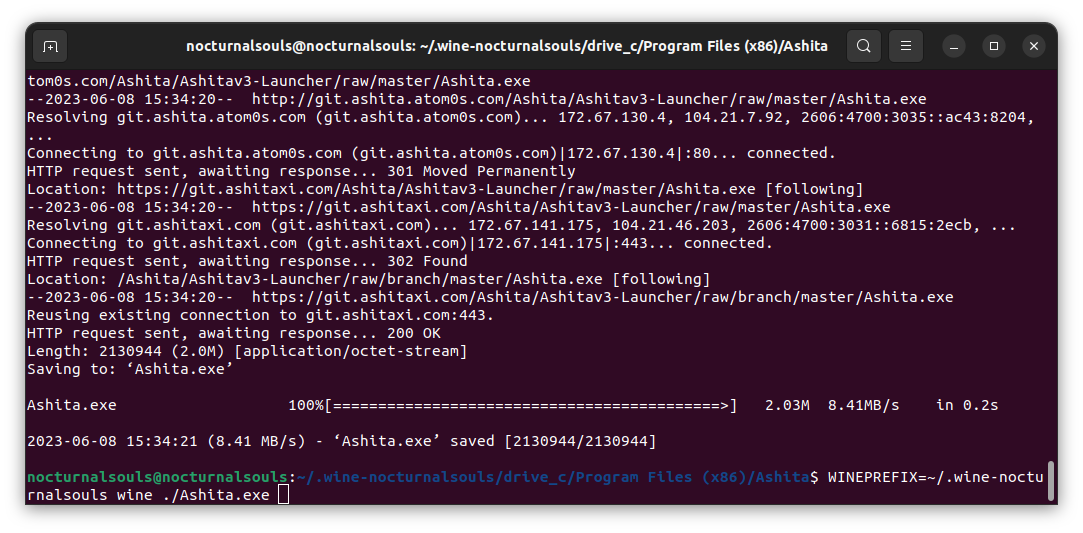
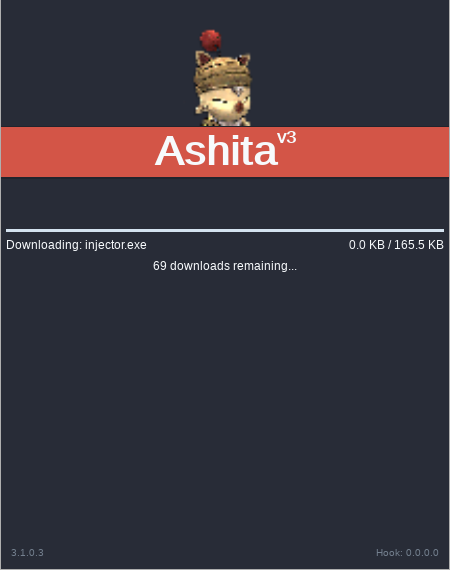
-
Ashita will auto-update itself when it’s launched:
-
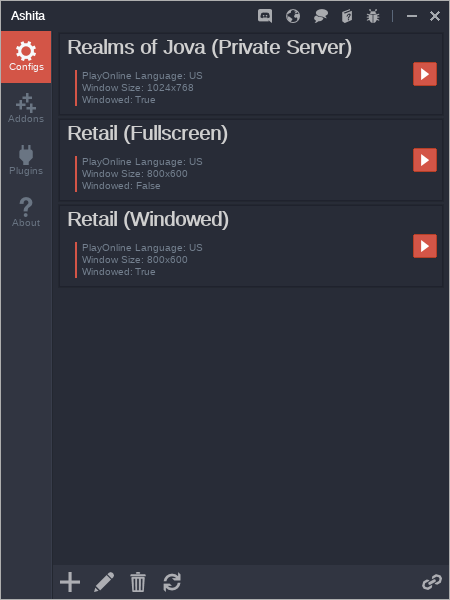
Details on how to configure Ashita to connect to the server can be found here:
-
After configuring your profile, close Ashita.
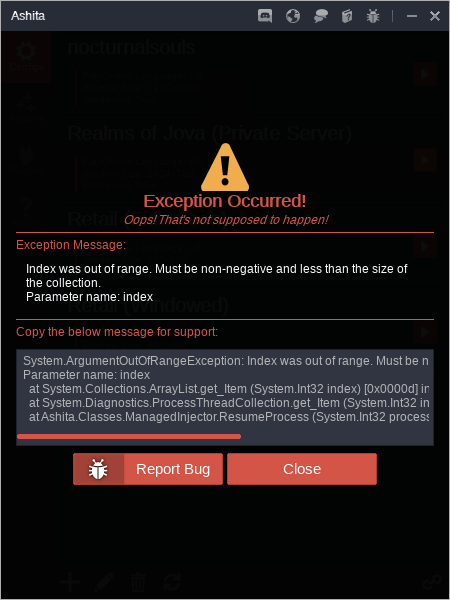
In its current revision, launching the game directly from the Ashita GUI doesn’t work. You can, however, launch it directly from a custom launcher.
-
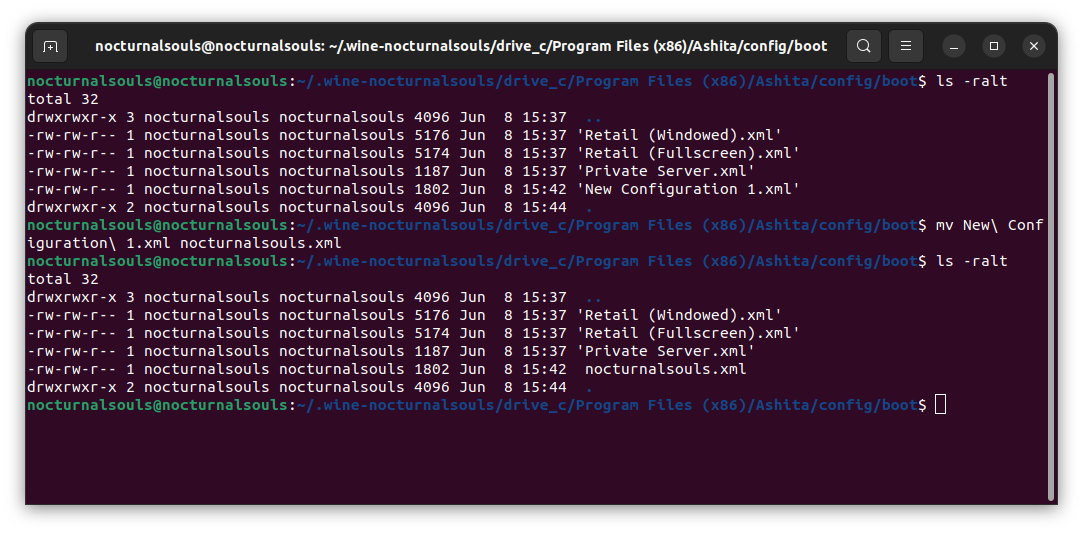
To create a custom launcher, find the name of the profile you created:
$ ls -rlt ~/.wine-nocturnalsouls/drive_c/Program\ Files\ \(x86\)/Ashita/config/bootThe configuration file you just created should be listed at the bottom. You can rename this file to be friendlier, e.g. nocturnalsouls.xml.
-
We recommend updating the configuration to automatically log in your character. Open the configuration file you just created and replace
USERNAMEandPASSWORDin the example with your account login information: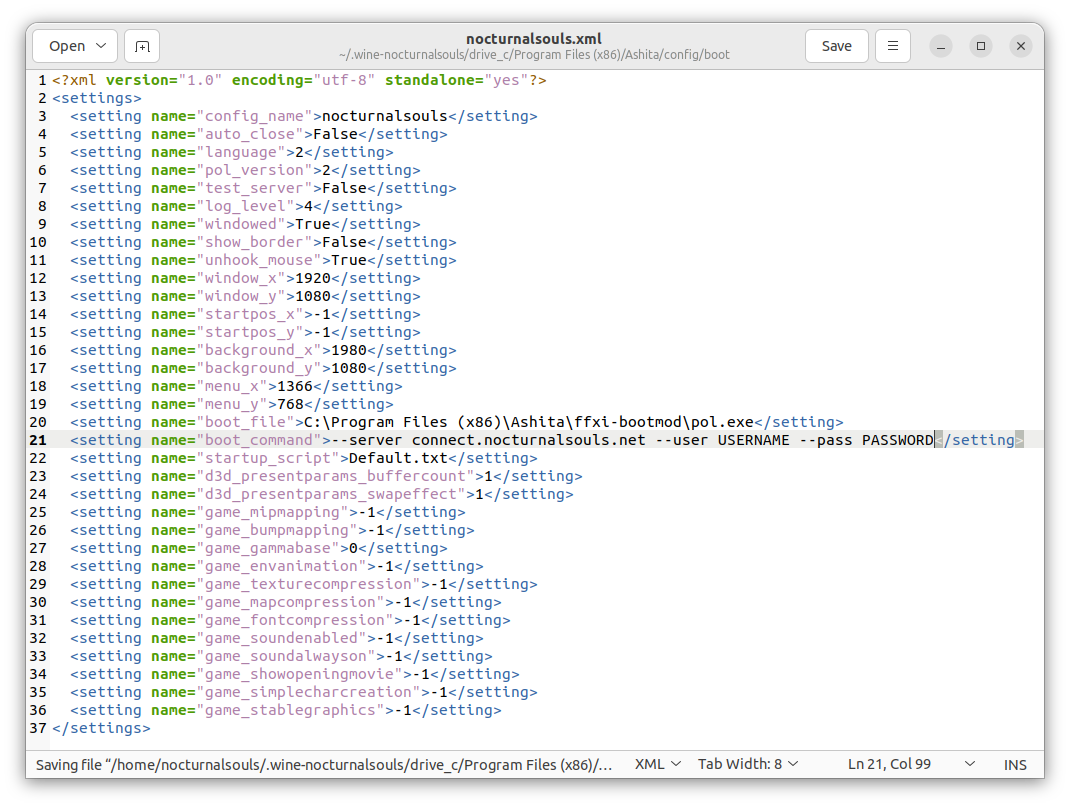
-
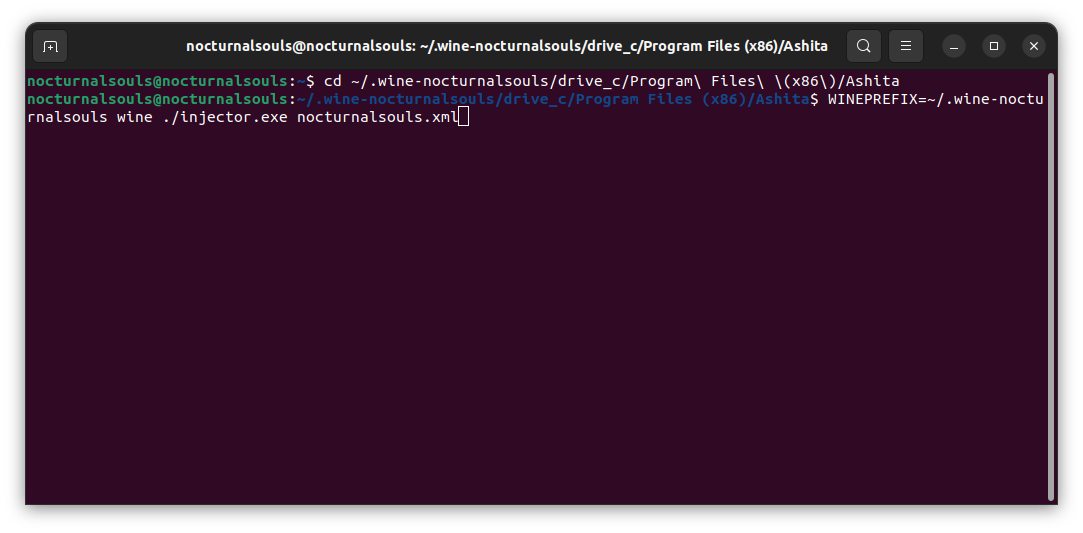
Try launching the game directly from the commandline:
$ cd ~/.wine-nocturnalsouls/drive_c/Program\ Files\ \(x86\)/Ashita
$ WINEPREFIX=~/.wine-nocturnalsouls wine ./injector.exe nocturnalsouls.xml
You can replace nocsouls.xml with whatever you renamed the .xml to.
-
Assuming you’ve followed the directions thus far, Final Fantasy XI should launch.
-
Assuming it launched correctly, you should now be able to create a custom Launcher to jump directly into game. This process differs with each desktop manager, but often it’s as simple as navigating to a folder, right clicking, and adding a new launcher, shortcut to application, etc. The command you will use will be:
cd ~/.wine-nocturnalsouls/drive_c/Program\ Files\ \(x86\)/Ashita/; WINEPREFIX=~/.wine-nocturnalsouls wine ~/.wine-nocturnalsouls/drive_c/Program\ Files\ \(x86\)/Ashita/injector.exe nocturnalsouls.xml -
In Ubuntu 22.04, you can add a launcher by following these steps:
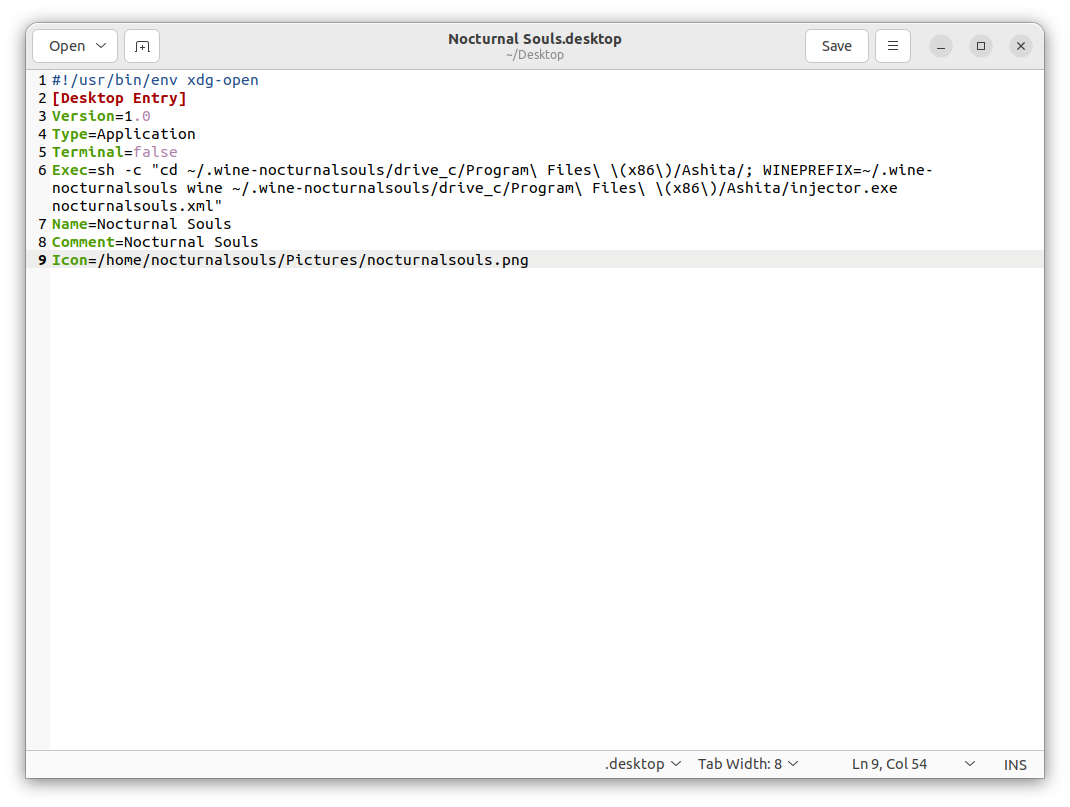
$ cd ~/Desktop
$ wget /images/favicon.png -O ~/Pictures/nocturnalsouls.png
$ gedit ./Nocturnal\ Souls.desktop
In the window that appears, paste the following:
#!/usr/bin/env xdg-open
[Desktop Entry]
Version=1.0
Type=Application
Terminal=false
Exec=sh -c "cd ~/.wine-nocturnalsouls/drive_c/Program\ Files\ \(x86\)/Ashita/; WINEPREFIX=~/.wine-nocturnalsouls wine ~/.wine-nocturnalsouls/drive_c/Program\ Files\ \(x86\)/Ashita/injector.exe nocturnalsouls.xml"
Name=Nocturnal Souls
Comment=Nocturnal Souls
Icon=/home/nocturnalsouls/Pictures/nocturnalsouls.png
Save the File.
-
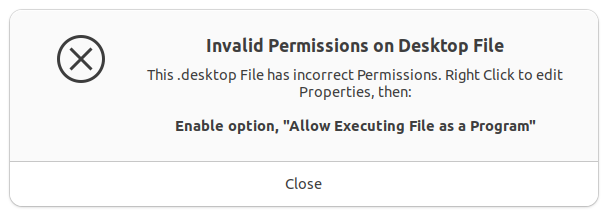
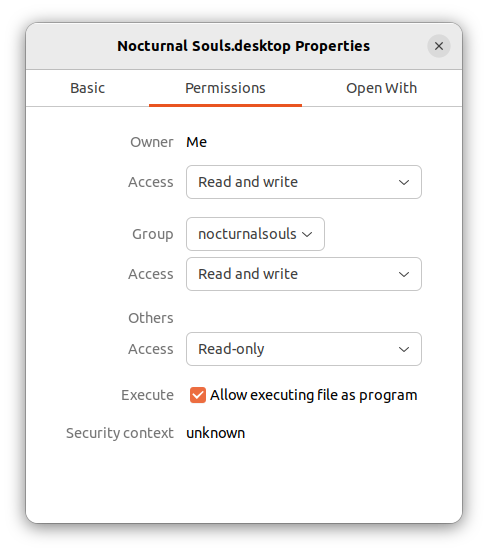
Right click on “Nocturnal Souls.desktop”, choose Properties, Navigate to Permissions Tab, Put a checkbox in Allow executing file as Program.
-
Finally, Right click on “Nocturnal Souls.desktop” once more, in the dialog window that appears, select “Allow Launching”.
-
You should now be able to double-click the
Nocturnal Soulsicon on your desktop to go directly in-game.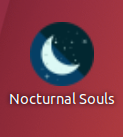
Gotchas / Nuances / Troubleshooting
-
Initial account or character creation may require the use of the standalone launcher without involving Ashita. This can be called directly for account and character creation by the following:
$ cd ~/.wine-nocturnalsouls/drive_c/Program\ Files\ \(x86\)/Ashita/ffxi-bootmod $ WINEPREFIX=~/.wine-nocturnalsouls wine ./pol.exe --server connect.nocturnalsouls.net -
The Gamma settings tend to be a bit wonky when using Ashita/Final Fantasy XI on Wine. This may result in an overly bright/“washed out” color profile. To resolve launch your systems built in Gamma tool and adjust your gamma and color levels back to 1.0. nvidia users who are using the Binary driver can simply launch the nvidia x server settings tool, and it will automatically apply the gamma profile.
You can adjust this permanently by following these instructions. The TL;DR:
``` $ cat >>"$HOME/.wine-nocturnalsouls/user.reg" <<EOF [Software\\\\Wine\\\\X11 Driver] 1269299093 "UseXVidMode"="N" EOF ``` -
Hung Wine Processes: Sometimes Ashita will simply crash or freeze. The fastest way to clear this up (without a reboot) is to kill the Ashita process.
$ pkill --signal 9 pol.exe -
Disconnects/Reconnects/Crashes: This may not be unique to Linux, but you will need to wait up to 3 minutes in between logging fully out and logging in again, otherwise you will get a connection error.
-
Wine/Ashita will hold on to pressed keys when tabbing out of an active window. If you alt tabbed, you may have to press alt to clear it. I.e. when you come back to the Ashita window after alt tabbing back, it may behave like alt is still pressed. Pressing alt will clear this (the same may be true for ctrl, alt, shift, and the Super key).
-
Wine/Ashita did not work very well with multiple sessions active at once with previous versions of Wine. With the 8.x versions, this seems to no longer be an issue. Multi-boxing may be an option, but that is beyond the scope of this document.
-
Performance may be further enhanced by leveraging DXVK instead of the native OpenGL renderer. Detailed instructions may be found here