Dynamis Divergence
Our custom Dynamis Divergence provides players a fast-paced, challenging Dynamis experience.
Dynamis Divergence allows players to upgrade their Reforged Relic armor up to its maximum, create and craft job specific neck pieces, and build unique Divergence weapons.
Dynamis Divergence has the same relative difficulty requirements as Reisenjima Henge; however, where Reisenjima Henge pits players against a single or small group of high level monsters, Dynamis Divergence’s challenge lies in management of large pulls and quantity of lower powered monsters.
Getting Started
Players can get started with Dynamis Divergence with the following requirements:
- Level 99 main job and sub job
- Completion of the Adventure Quest lv99
- Full completion of at least one i119 mythic weapon.
- Completion of the Rise of Zilart expansion.
- Completion of the Chains of Promathia expansion.
The completed mythic weapon must be in your inventory or mog house to be registered as completed. If you’ve moved these onto offline storage, the quest giver will not be able to find them and flag you for the quest.
To unlock access, players will need to acquire the following and trade it to Aurix in Ru’Lude Gardens (G-8) through the dimensional veil.
- 20x 100 Byne Bills
- 20x M. Silverpieces
- 20x L. Jadestones
On trade to Aurix, players will receive an Empty Hourglass key item and have access to Dynamis - San d’Oria [D].
Access to additional Divergence zones requires completing the prior zone and acquiring the “Dominator” title when defeating the Disjointed. Titles must be acquired in order–Sub Boss > Zone Boss > Disjointed, or Trespasser > Infiltrator > Dominator.
Lockouts
- Zone Duration: 2 Hours
- Zone Lockout: 36 Hours
Players are permitted two hours in the zone upon entry. Leaving the zone will cause players to be immediately locked out–so be careful with those revives!
After two hours, players are exited from the zone and can re-enter in 36 hours.
Each Dynamis Divergence zone has its own lockout–players can explore Dynamis - San d’Oria [D] and Dynamis - Windurst [D] within the same 36 hour period.
Battle Strategy
Divergence zone progression is broken into three phases. Participants will move the zone phase to phase based on what bosses have been defeated.
Phase 1
Phase 1 is the default phase of the zone. No bosses have been defeated or are in progress and monsters are at their base level of stats and aggro ranges.
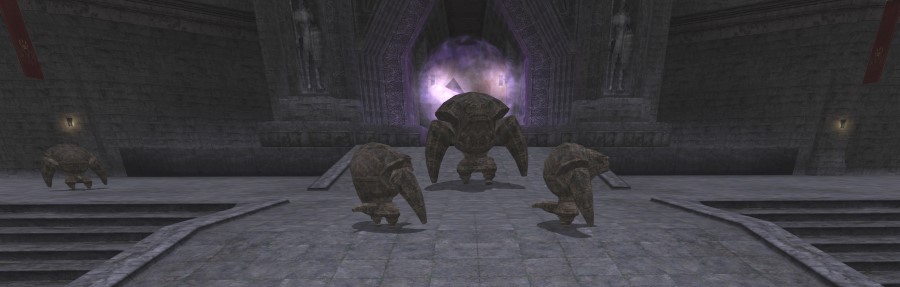
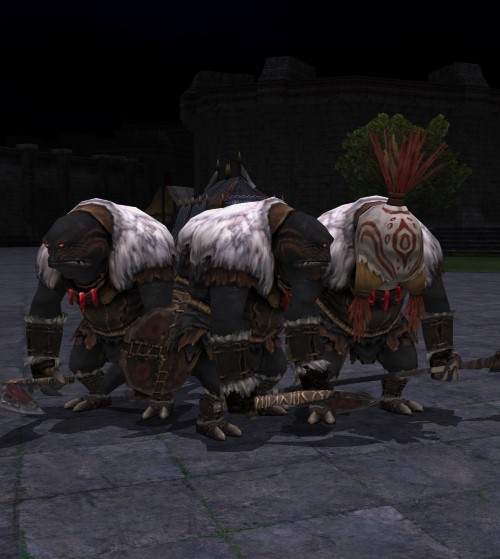
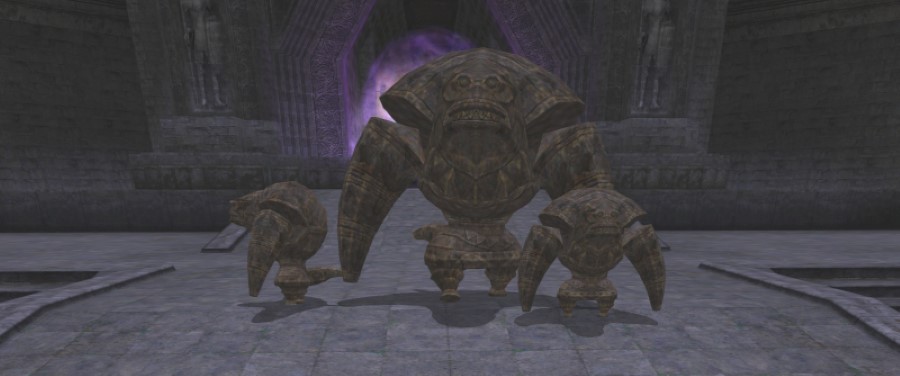
Players will fight Statues to spawn Squadrons and Regiments. These mobs have the potential to spawn Commanders. Commanders will potentially drop one of five Fiendish Tome pages to spawn the mid boss. Players will need to have all five pages to spawn the mid boss.
Phase 2
Phase 2 starts once players have defeated the zone mid boss (the large tombstone). The mid boss has a 100% chance to drop the 6th Fiendish Tome page used to spawn the mega boss.
During this time, all monsters have enhanced stats and a slightly larger aggro ranges.
Phase 3
Phase 3 starts once participants defeat the mega boss and prepare to defeat the Disjointed. The mega boss has a 100% chance to drop the Fiendish Tome page used to spawn the Disjointed encounter.
During this phase, eight (8) Elemental Fetters are scattered throughout the zone as part of the Disjointed encounter.
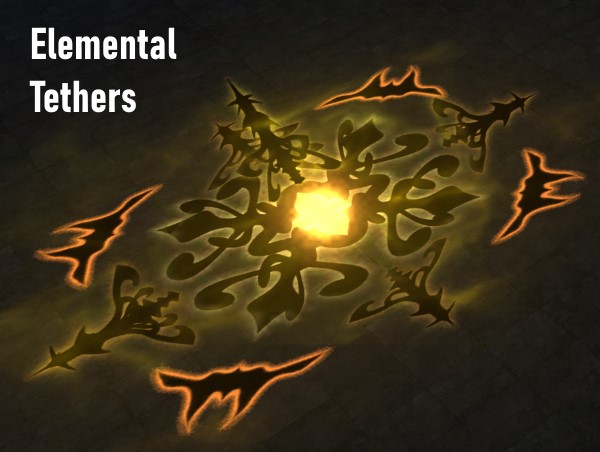
It is optional to defeat these Elemental Fetters, however, for each fetter defeated, the Disjointed will lose 10% of its damage resistance (aka: without defeating any, it has -80% damage taken from all sources).
Once the Disjointed is spawned, the fetters are absorbed and the Disjointed’s resistances cannot be altered. This is a race against time balance defeating the fetters with having enough time to defeat the Disjointed.
When players defeat the Disjointed or the Disjointed despawns (due to wipe or inactivity), the zone will downgrade to Phase 1.
Players can force the zone into Phase 3 at any time by trading the required Fiendish Tome to the Nightmare Wellspring. This will cause the Elemental Fetters to spawn around the zone. Trading it again will spawn the Disjointed. This is particularly helpful for players re-entering the zone after farming/saving up several spawn items from a prior run.
Mid, Mega, and Disjointed Bosses will despawn after being unclaimed for five minutes.
Drops
Drops in Divergence are made up of three parts: shards, void patterns, and materials. Each zone drops a unique armor piece as well and all zones have the potential to drop chest shards and patterns. Drops are, for non-boss mobs, job specific. For example, a Dragoon-type monster will drop dragoon shards and patterns.
| Zone | Armor Piece | Neck Pieces | Materials |
|---|---|---|---|
| San d’Oria [D] | Feet | Nodowa Stole |
Plovid Flesh Ratnaraj Relic Adaman Hades Claw |
| Bastok [D] | Hands | Necklace Gorget |
Macuil Plating Ratnaraj Relic Adaman Hades Claw |
| Windurst [D] | Head | Torque Collar |
Plovid Effluvium Ratnaraj Relic Adaman Hades Claw |
| Jeuno [D] | Legs | Charm | Defiant Sweat Ratnaraj Relic Adaman Hades Claw |
In addition, each zone drops a unique Volte set and all Disjointed bosses drop the highly-prized Volte Jupon set (the all jobs TH set). NOTE: We decided to leave the enchantments off of the chest armors as they are of low value and would prevent players from augmenting the items.
Zones
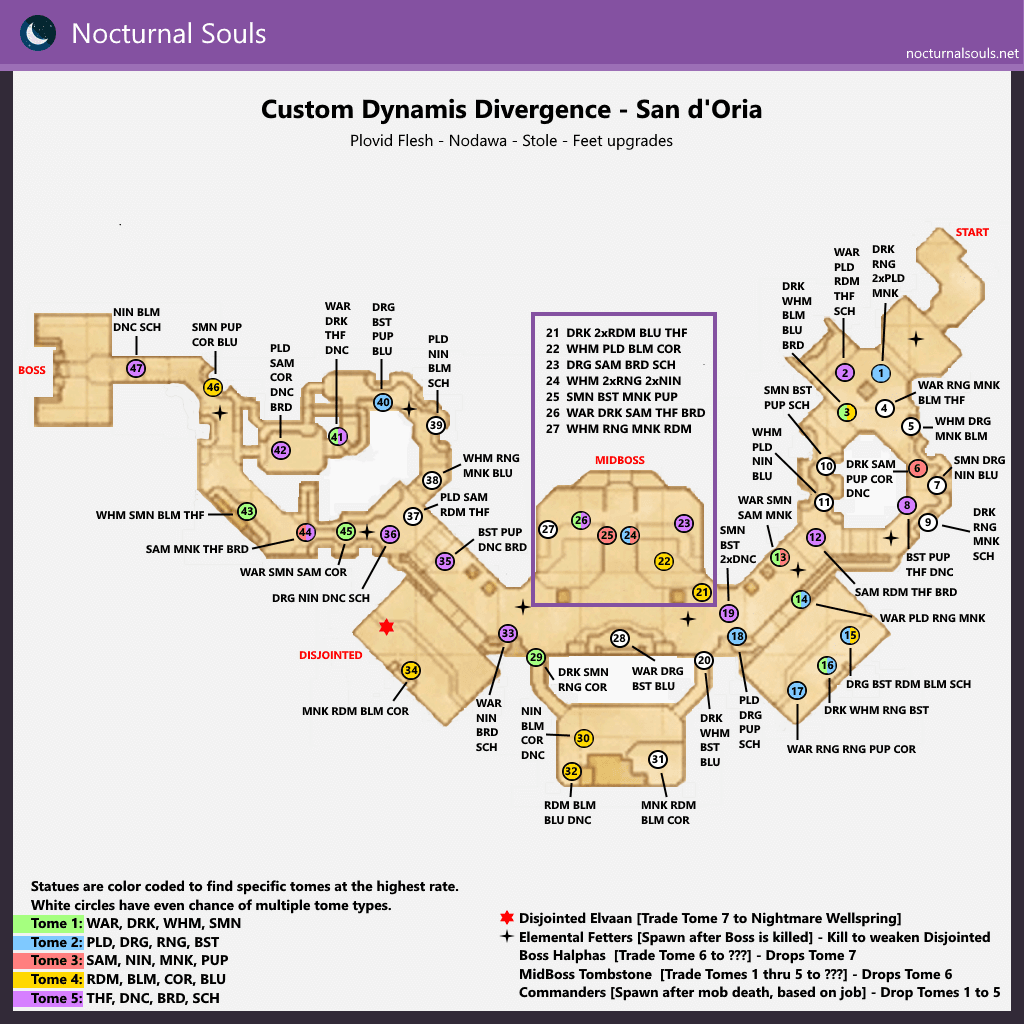
Dynamis - San d’Oria [D]
Players will enter Divergence in Southern San d’Oria at the Enigmatic Footprints near the East Ronfaure gate.
| Target | Drops |
|---|---|
| Statues | Relic Adaman Moldy Nodowa/Stole Rusted ID Cards |
| Squadrons/Regiments (JOB) | Footshard: JOB Rusted ID Cards |
| Commanders (JOB) | Voidfoot: JOB Voidtorso: JOB Torsoshard: JOB Black ID Cards Ratnaraj |
| Overseeer’s Tombstone | Voidtorso: JOB (All) Black ID Cards |
| Halphas | Voidtorso: JOB (WAR, MNK, WHM, BLM, RDM) Black ID Card Plovid Flesh Volte Doublet Set |
| Disjointed Elvaan | VoidtorsoL JOB (WAR, MNK, WHM, BLM, RDM) Hades Claw Demon Medals Volte Jupon Set |
Spawns
Mid Boss
Trade Fiendish Tome page 1 through 5 to the ??? by the North San d’Oria gate (I-8).
Zone Boss
Trade Fiendish Tome page 6 to the ??? by Count Caffaule’s Manor (C-6).
Disjointed
Trade Fiendish Tome page 7 to the Nightmare Wellspring by the West Ronfaure gate (F-9).
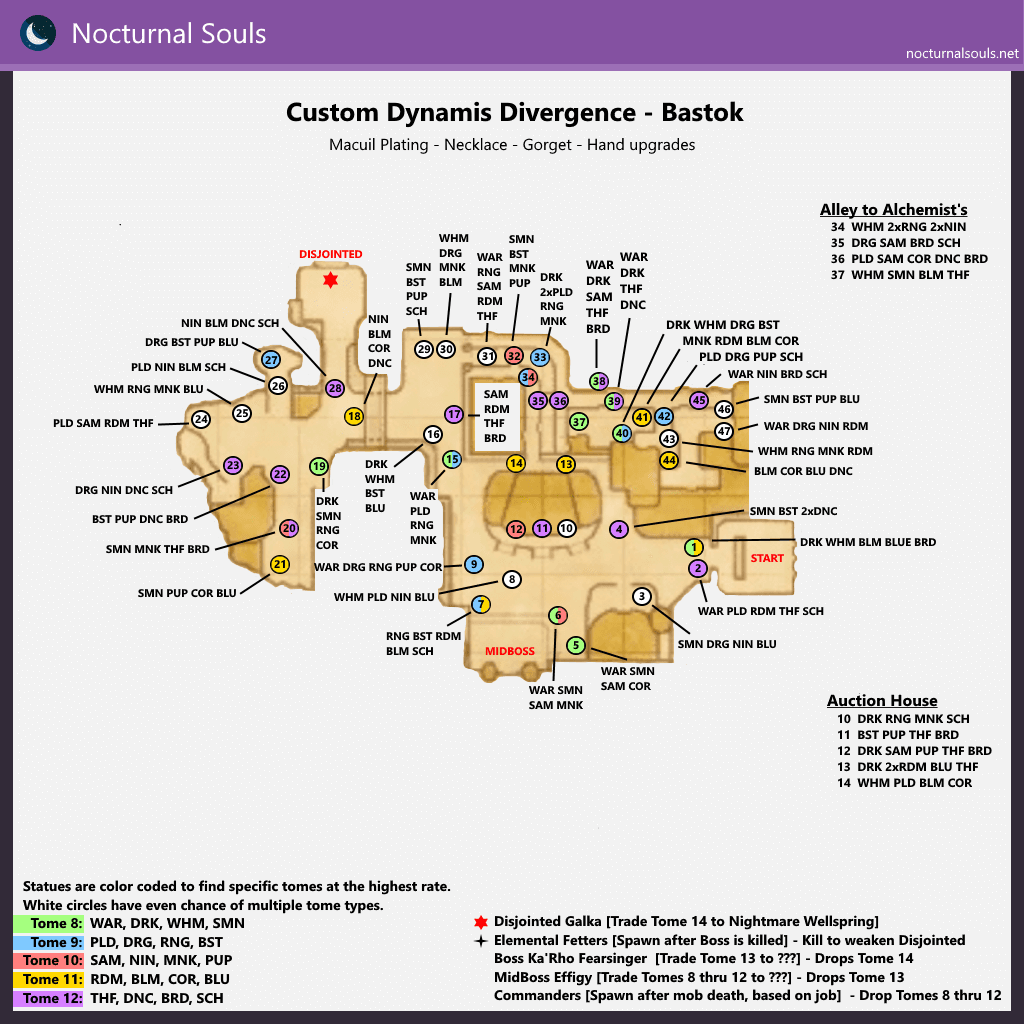
Dynamis - Bastok [D]

Players will enter Divergence in Bastok Mines at the Enigmatic Footprints near the South Gustaburg gate.
| Target | Drops |
|---|---|
| Statues | Relic Adaman Moldy Necklace/Gorget Rusted ID Cards |
| Squadrons/Regiments (JOB) | Handshards: JOB Rusted ID Cards |
| Commanders (JOB) | Voidhands: JOB Voidtorso: JOB Torsoshard: JOB Black ID Cards Ratnaraj |
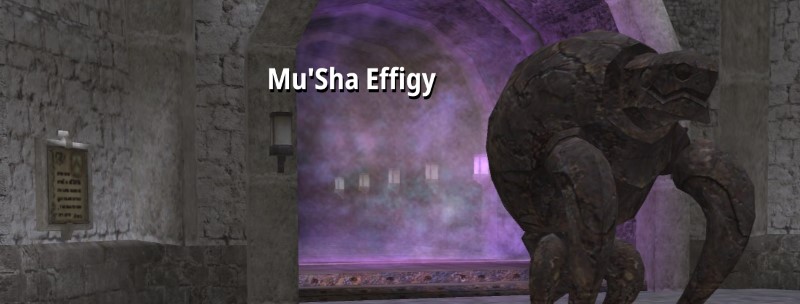
| Mu’Sha Effigy | Voidtorso: JOB (All) Black ID Cards |
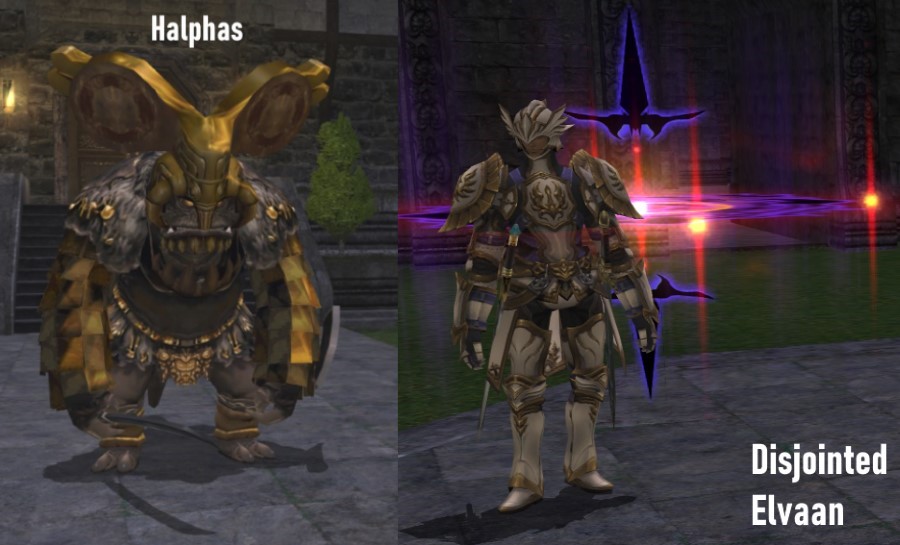
| Ka’Rho Fearsinger | Voidtorso: JOB (THF, PLD, DRK, BRD, RNG)br>Black ID Card Macuil Plating Volte Harness Set |
| Disjointed Galka | Voidtorso: JOB (THF, PLD, DRK, BRD, RNG) Hades Claw Demon Medals Volte Jupon Set |
Spawns
Mid Boss
Trade Fiendish Tome page 8 through 12 to the ??? by the North Gustaburg gate (H-10).
Zone Boss
Trade Fiendish Tome page 13 to the ??? by the alley near the Alchemy Guild (J-7).

Disjointed
Trade Fiendish Tome page 14 to the Nightmare Wellspring by the Bastok Markets gate (F-5).
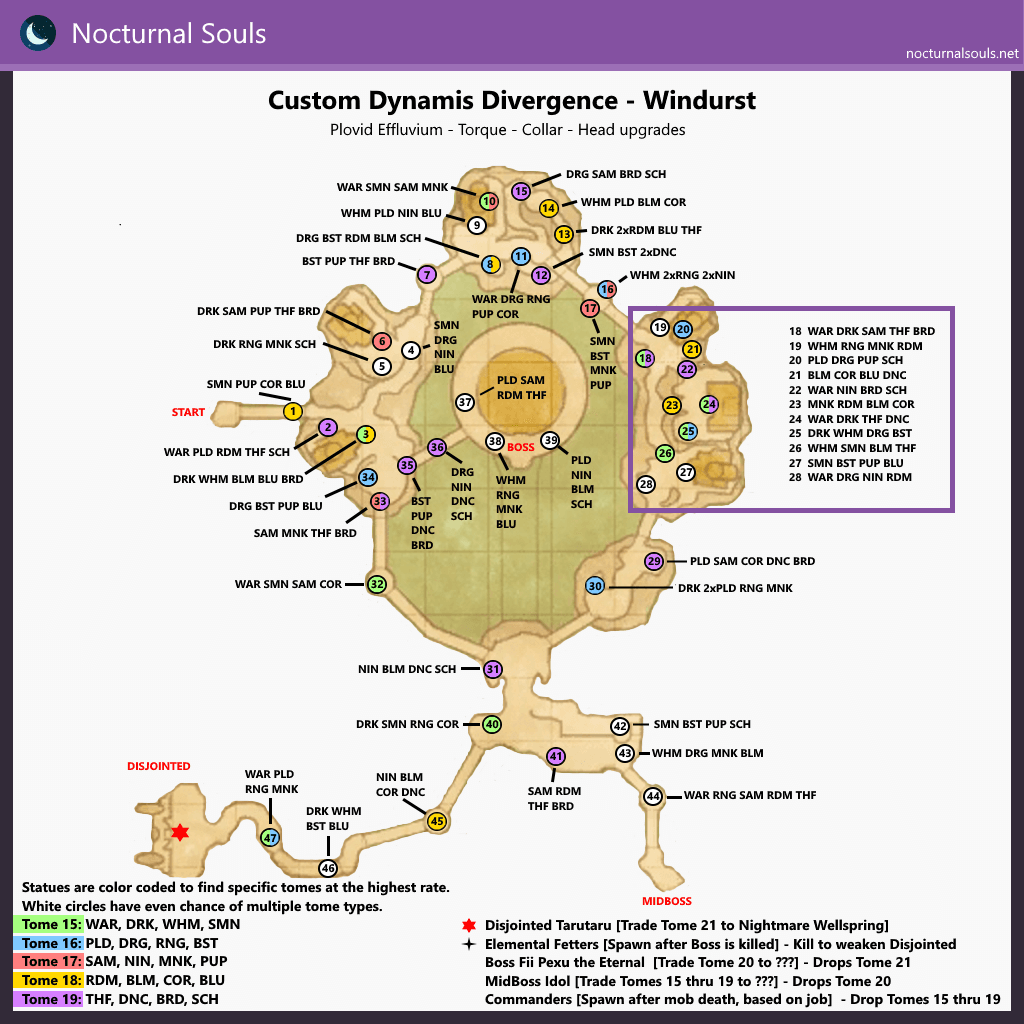
Dynamis - Windurst [D]
Players will enter Divergence in Windurst Walls at the Enigmatic Footprints near the entrance to Heaven’s Tower gate.
| Target | Drops |
|---|---|
| Statues | Relic Adaman Moldy Torque/Collar Rusted ID Cards |
| Squadrons/Regiments (JOB) | Headshards: JOB Rusted ID Cards |
| Commanders (JOB) | Voidhead: JOB Voidtorso: JOB Torsoshard: JOB Black ID Cards Ratnaraj |
| Envincing Idol | Voidtorso: JOB (All) Black ID Cards |
| Fii Pexu the Eternal | Voidtorso: JOB (SMN, SAM, NIN, BLU, SCH) Plovid Effulvium Black ID Card |
| Disjointed Tarutaru | Voidtorso: JOB (SMN, SAM, NIN, BLU, SCH) Hades Claw Demon Medals Volte Jupon Set |
Spawns
Mid Boss
Trade Fiendish Tome page 15 through 19 to the ??? by the Windurst Woods gate (J-14).
Zone Boss
Trade Fiendish Tome page 20 to the ??? by at the entrance to Heaven’s Tower (H-7).
Disjointed
Trade Fiendish Tome page 21 to the Nightmare Wellspring by the Residential Area gate (C-13).
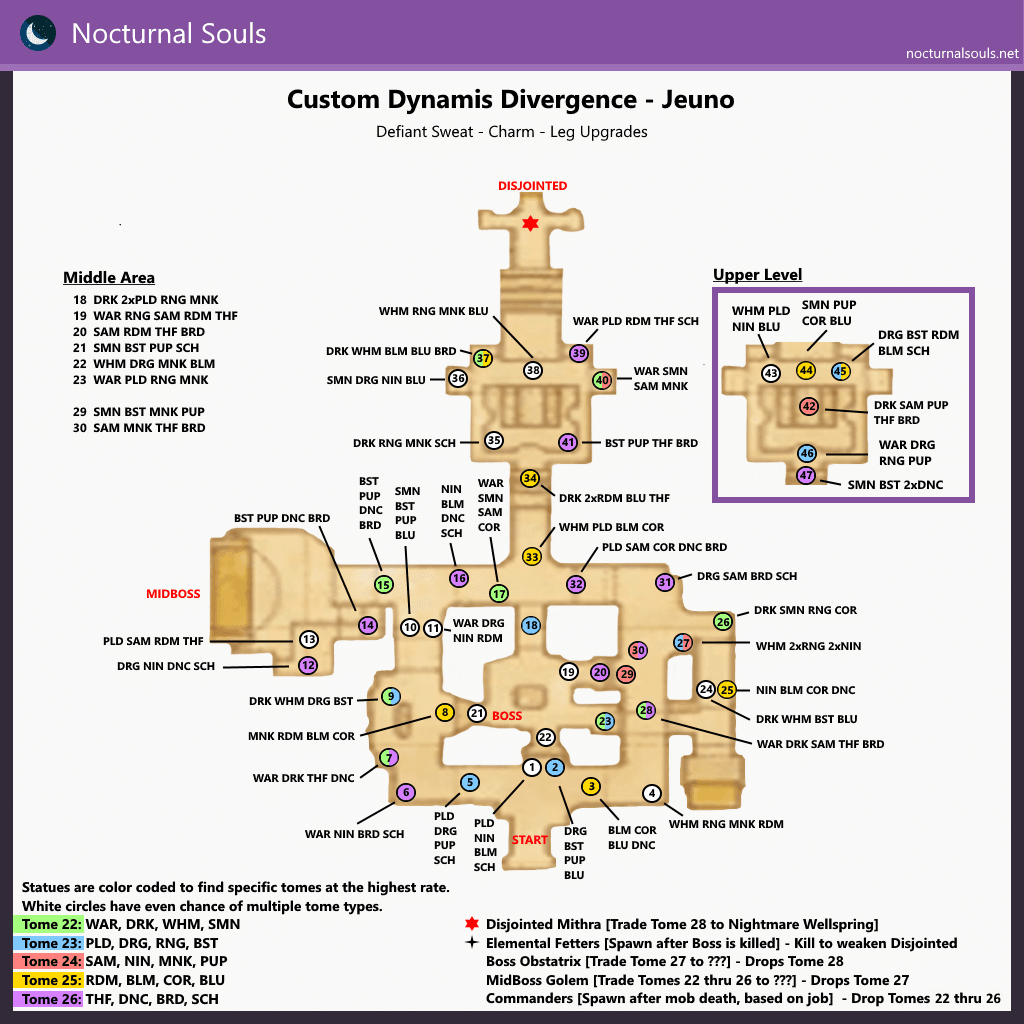
Dynamis - Jeuno [D]
Players will enter Divergence in Ru’Lude Gardens at the Enigmatic Footprints near the Deliveries Agent at (F-9).
| Target | Drops |
|---|---|
| Statues | Relic Adaman Moldy Charm Rusted ID Cards |
| Squadrons/Regiments (JOB) | Legshards: JOB Rusted ID Cards |
| Commanders (JOB) | Voidleg: JOB Voidtorso: JOB Torsoshard: JOB Black ID Cards Ratnaraj |
| Impish Golem | Voidtorso: JOB (All) Black ID Cards |
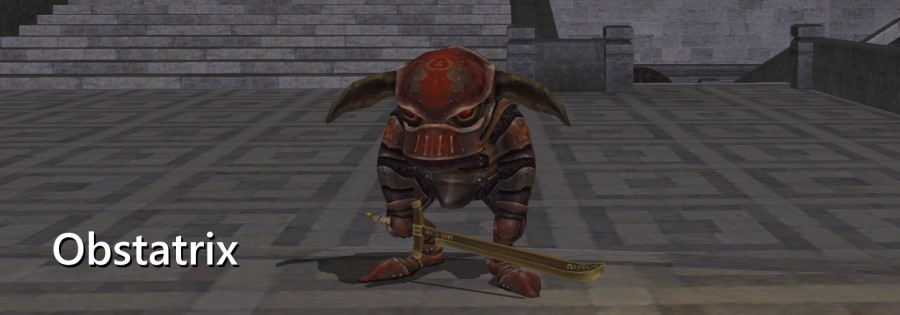
| Obstatrix | Voidtorso: JOB (DRG, BST, PUP, COR, DNC) Defiant Sweat Volte Haubert Set |
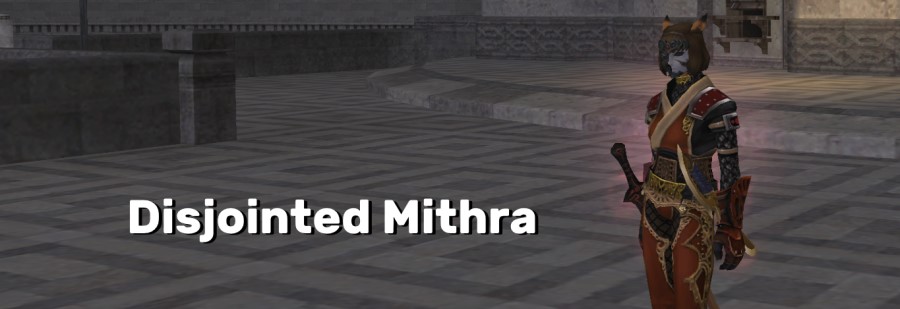
| Disjointed Mithra | Hades Claw Demon Medals Volte Jupon Set |
Spawns
Mid Boss
Trade Fiendish Tome page 22 through 26 to the ??? by the Auction House.
Zone Boss
Trade Fiendish Tome page 27 to the ??? by the San d’Oria Embassy.
Disjointed
Trade Fiendish Tome page 28 to the Nightmare Wellspring by the Archduke’s Residence.
Upgrades
Unlike other relic armor tiers, Aurix in Ru’Lude Gardens (G-8) will handle upgrades for Reforged Relic +2 and +3 gear and the job-specific neck pieces.
See here for more information.
Tips
- Players can disconnect/logout while in the zone, however, their lockout continues even while logged out. If logging back in after the lockout has expired, participants are removed from the zone.
- Players cannot revive within the zone, so it’s hightly advised to have Reraise effects on at all times.
!shop 2provides reraisers. Do not return to your home point! - Commanders come to the aid of their squadron at random so AOEing a large pack of squadron and regiment monsters can cause multiple commanders to appear at the same time–be cautious.
- Statues provide buffs and assistance to nearby enemy combatants; be aware of your range to other statues when fighting.
- Players can use the
!getdynatimecommand while within a Dynamis Divergence zone to see their current time remaining. - There are several safe spots that players can pull monsters to throughout the zone to avoid repops–use these areas to your advantage.
- Statues aggro by SIGHT, so careful sneaking behind them can prevent unnecessary pulls. They also aggro by sight from a long distance–so keep that in mind when you position yourself.
- Bring a THF, treasure hunter, and some empty bag space! There’s a LOT of patterns, shards, and materials that will be dropping!
- The zone is “open world”, so new players can join and parties can be formed at any time. Players will receive a notice as their in-zone time begins to expire and will be removed from the zone when their timer is over.
- Some of the materials can be found in other locations in the game–and can be used as upgrade components!
- The voidshards, patterns, and most materials are tradeable and auctionable! Mix and match with your friends!